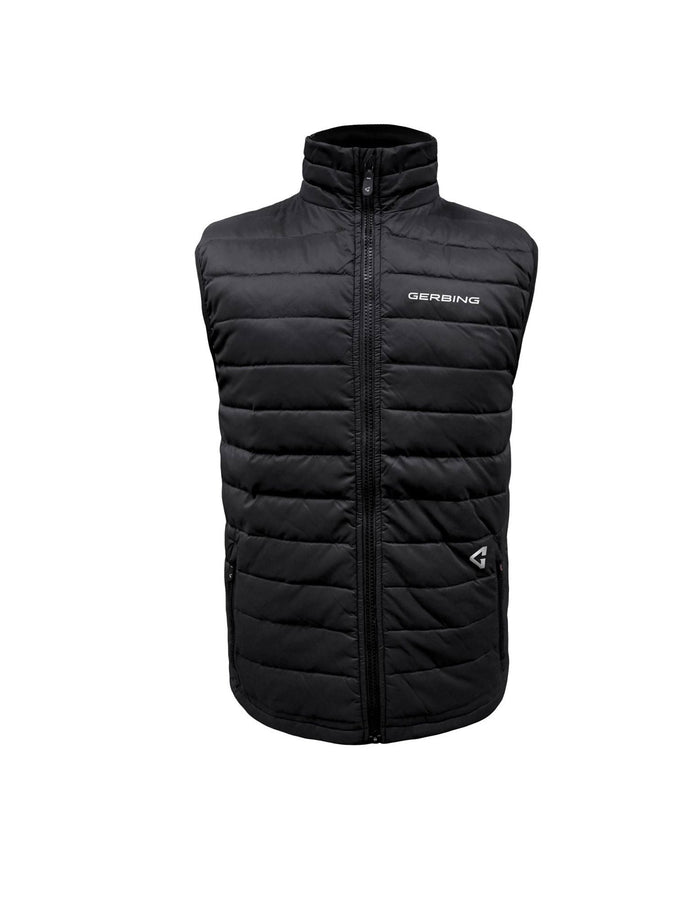
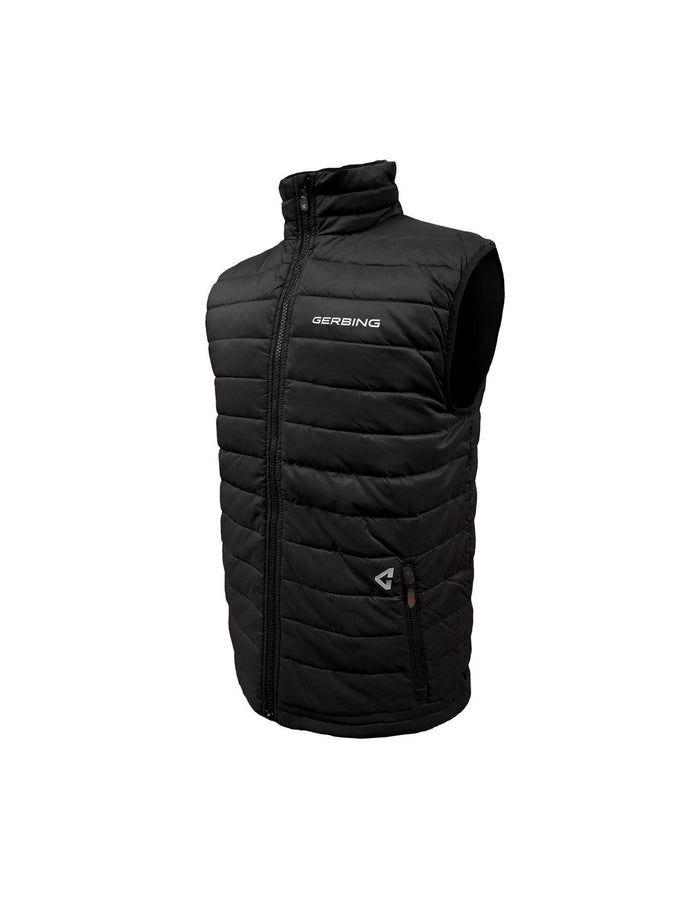
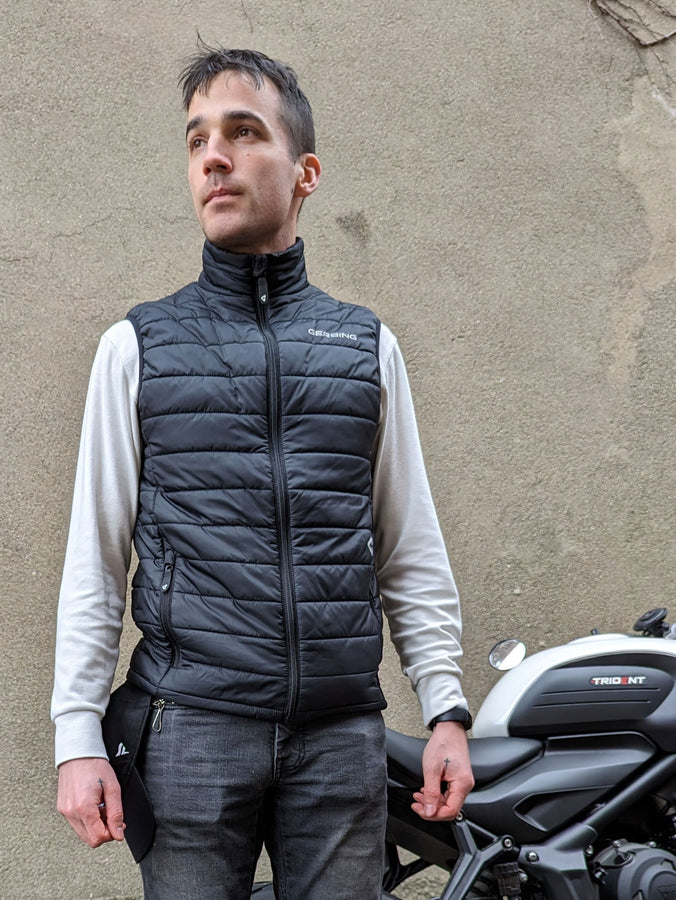
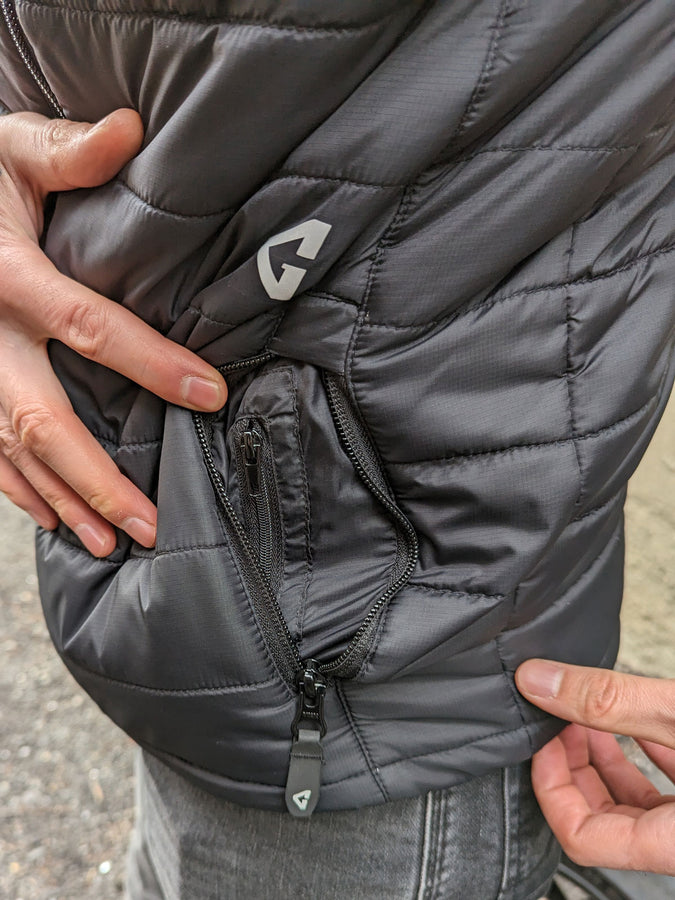
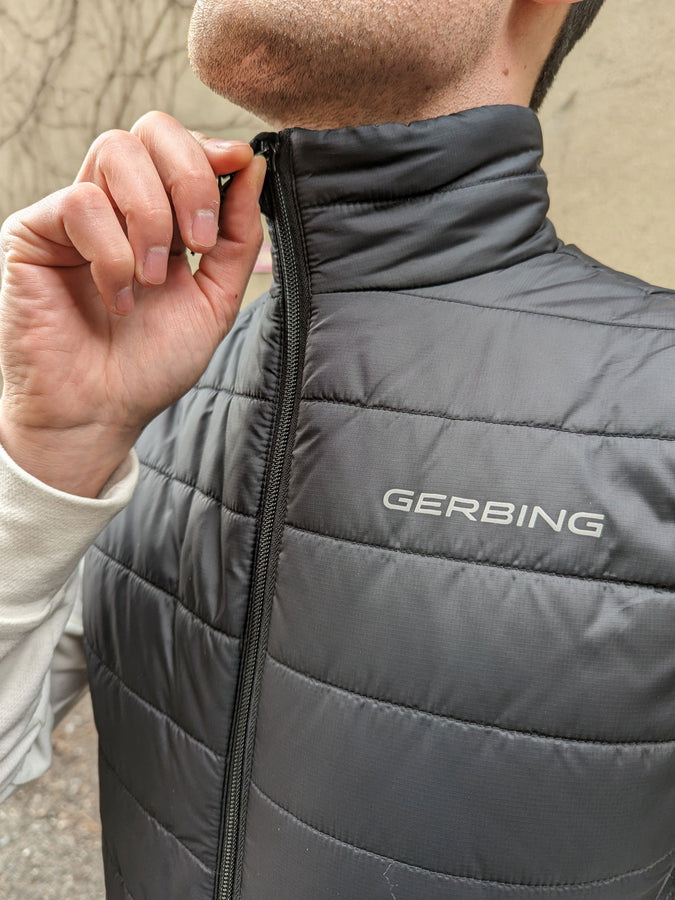
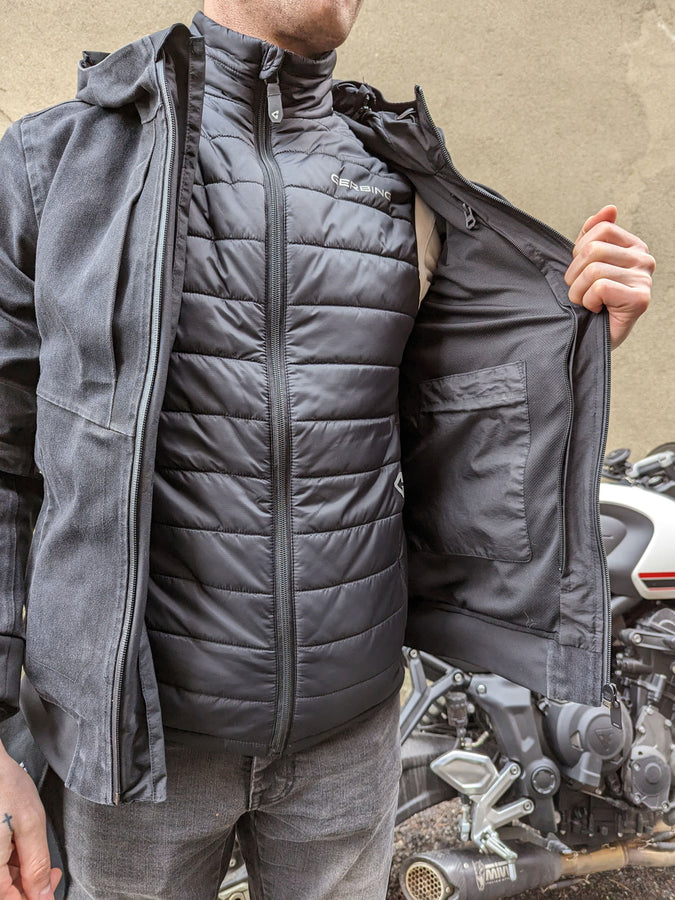
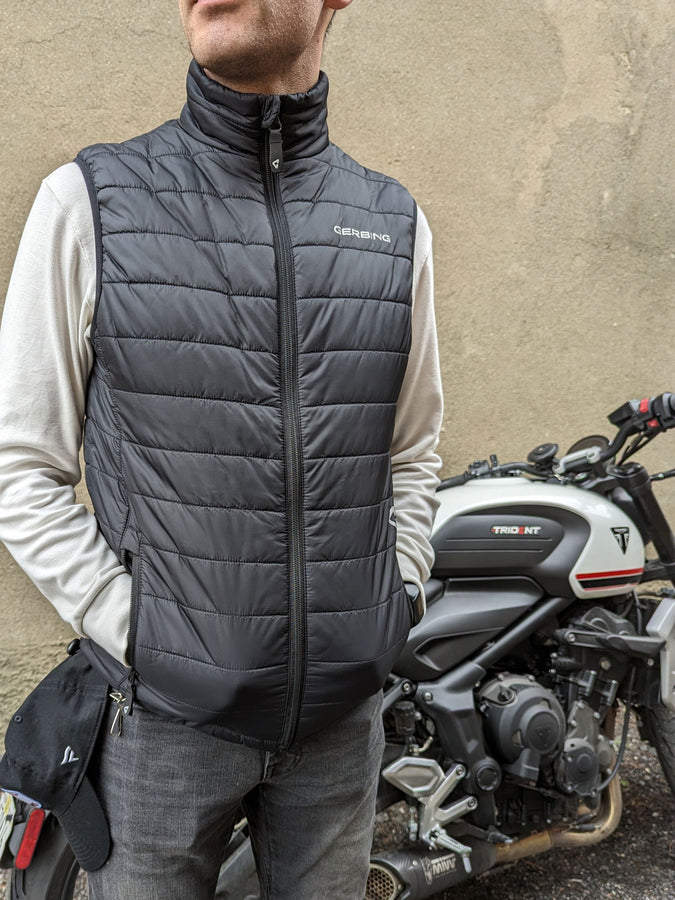
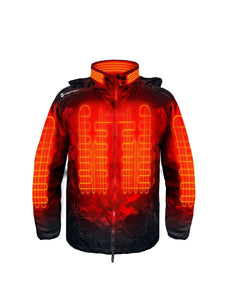
Of course this black puffer vest is going to keep you warm even without plugging it in. But with the 7-volt lithium ion battery hooked up and securely stored in a zippered compartment within the left warmer pocket, this thing goes off.
The battery has a built-in controller to toggle between four heat levels, which promise between 2-8 hours of heat.
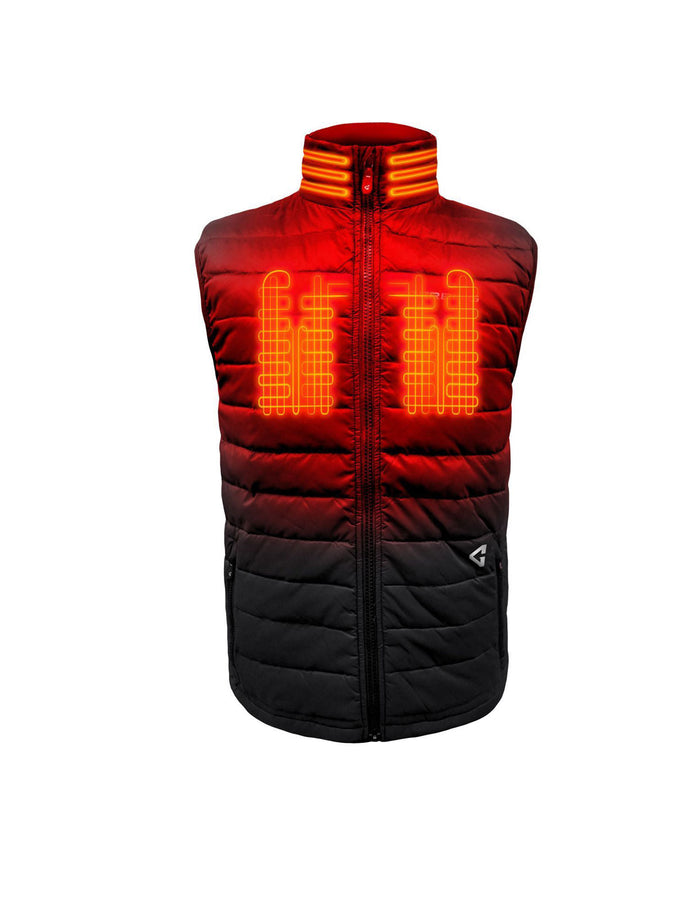
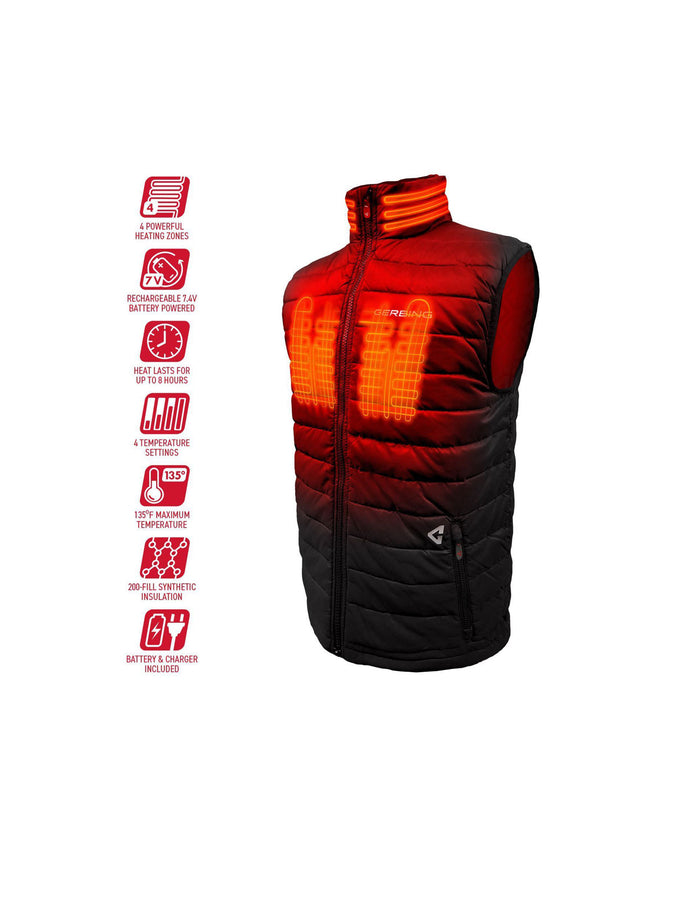
In addition to a back panel and two chest panels, this vest also offers the appreciated back-of-the-neck heated panel—killing chilly backdrafts before they stand a chance.
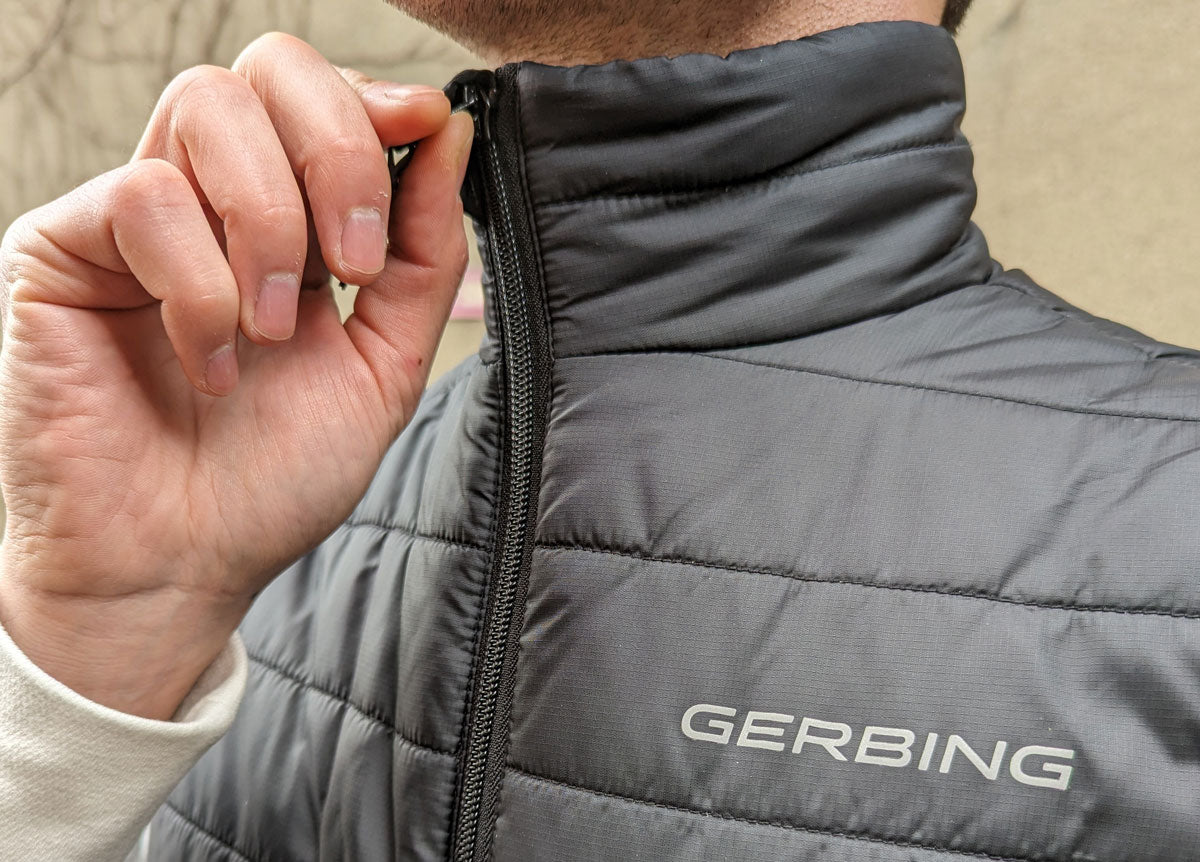
This water-resistant and windproof vest combines powerful performance with popular style. Constructed with 200-fill synthetic down this puffer is designed to be close-fitting for added warmth.
Gerbing 7V Battery Heated Vests Include:
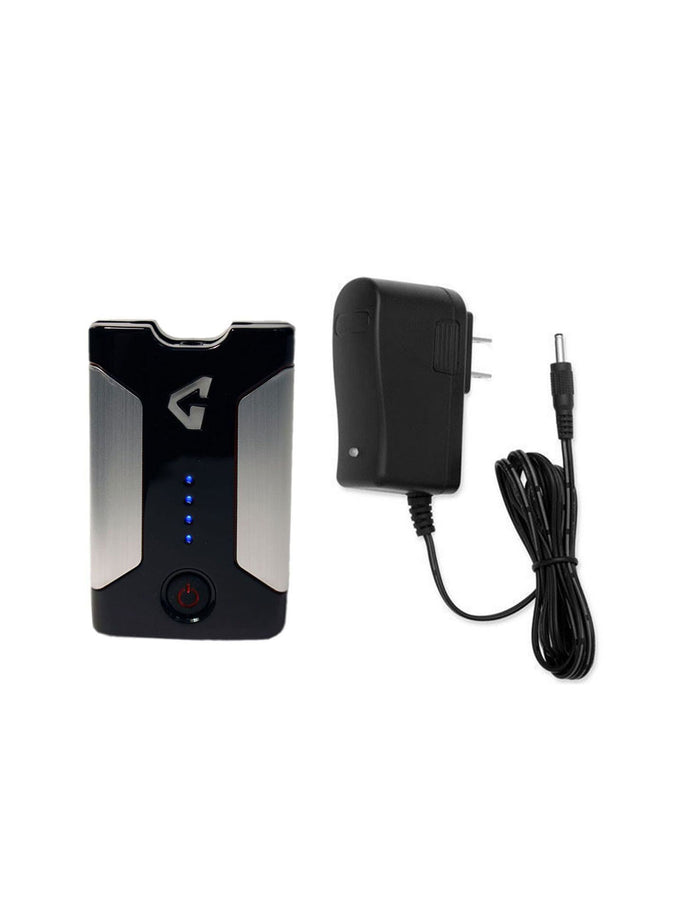
- 7V 3400 mAH Rechargeable Lithium-ion Battery Pack (25.16Wh)
- Single Wall Charger
- Detailed Instructions
- Gerbing Lifetime Warranty
Khione Vest 2.0 Features:
- Four Microwire heating zones: Collar (1), Chest (2), & Back (1)
- 135° F Maximum heat
- Active heat retention technology
- Heats for hours
- Water-Resistant and Windproof
- Comfortable & Stylish Fit
- Durable ripstop fabric construction
- Battery Integrated Temperature Controller
The battery has 4 heat settings as indicated by lights and Heat Times:
- 100% (4 red/blue lights) - 2 Hours
- 75% (3 red/blue lights) - 3 Hours
- 50% (2 red/blue lights) - 5 Hours
- 25% (1 red/blue lights) - 8 Hours
Charging Battery: (We recommend charging overnight for the first charge.)
- Charge 100% before use (a full charge takes about 3 hours).
- A red light will appear on the wall charger when charging.
- The red light will change to green when charged.
- Maintain at least 25% power when the battery is not in use. This practice will prolong the life of any 7V battery.
How it Works:
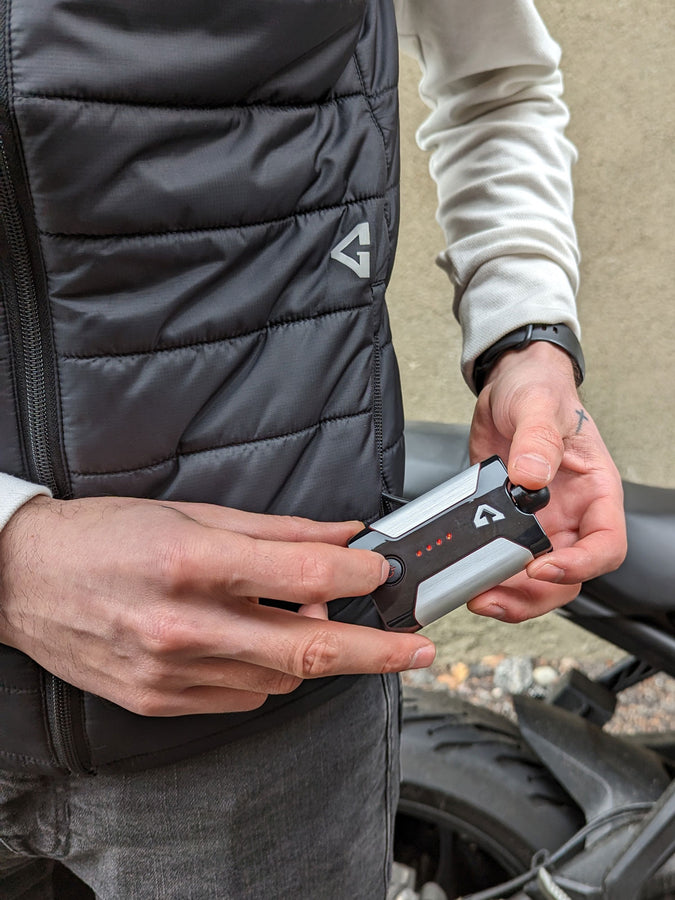
- Step 1: Power on by pressing and holding the power button.
- Step 2: To change temperature, press and hold the power button until the LED light reflects desired setting. *Power level setting can only be indicated when connected to the garment.
- Step 3: Check remaining battery life by disconnecting the battery from the product. Press and hold the power button, the LED indicator will show 1 to 4 lights.
- LED lights will illuminate to indicate remaining power (4 lights are full power).
Turning on the Heat:
- Step 1: Locate the power pocket; it will be on the wearer's left outer pocket.
- Step 2: Open the pocket and locate the power plug.
- Step 3: Turn on the battery by holding the power button until it lights up.
- Step 4: Insert the plug into the battery port and push down to secure it in the plug holder.
- Step 5: Push the power button on the battery to select the setting you would like.
- Step 6: Place the battery into the pocket and close the pocket.
